How To Clean Your Kitchen Cabinets?
Tip: Use Dawn Liquid Soap. Works wonders with degreasing.
You often hear the saying, “the kitchen is the heart of the home.” Unless you survive solely on take-outs, you spend a significant amount of time in the kitchen. A room often used is a room that requires frequent cleaning as well. While you are at it, you must learn how to clean your kitchen cabinets as well.
Ever wonder “how to clean kitchen cabinets?” Kitchen cabinets are rarely the focus of kitchen cleaning. Most people focus their efforts and energy on cleaning the big three – floors, counters, and sinks.
As your cabinet doors get ignored, they might become the biggest reason for your worry. Why? Well, because all the tiny droplets of grease, dust, and food splatter may accumulate, leading to a dirty and stinky cabinet.
Yes, cleaning kitchen cabinets is not a quick or fun task. But, it isn’t difficult at all, and nor does it include the use of toxic and smelly chemicals!
The perfect recipe of how to clean your kitchen cabinets
Are you dreading the task already? Don’t worry. Here are the comprehensive steps of how to clean greasy kitchen cabinets.
1. Prepare your concoction (a cleaning solution)
The first step in how to clean greasy wooden kitchen cabinets is to prepare your cleaning solution. The kitchen isn’t only for cooking food. During your deep cleaning day, you will have to mix up a concoction to be used on the kitchen cabinets. Luckily, neither is the solution difficult to make nor has ingredients that will leave you perplexed.
Cabinet types like painted wood, plastic laminate or vinyl, can be easily cleaned using a solution containing warm water and liquid dish soap. This cleaning solution is ideal for getting off food stains, dust, and mild grease and hence is the best way to clean kitchen cabinets.
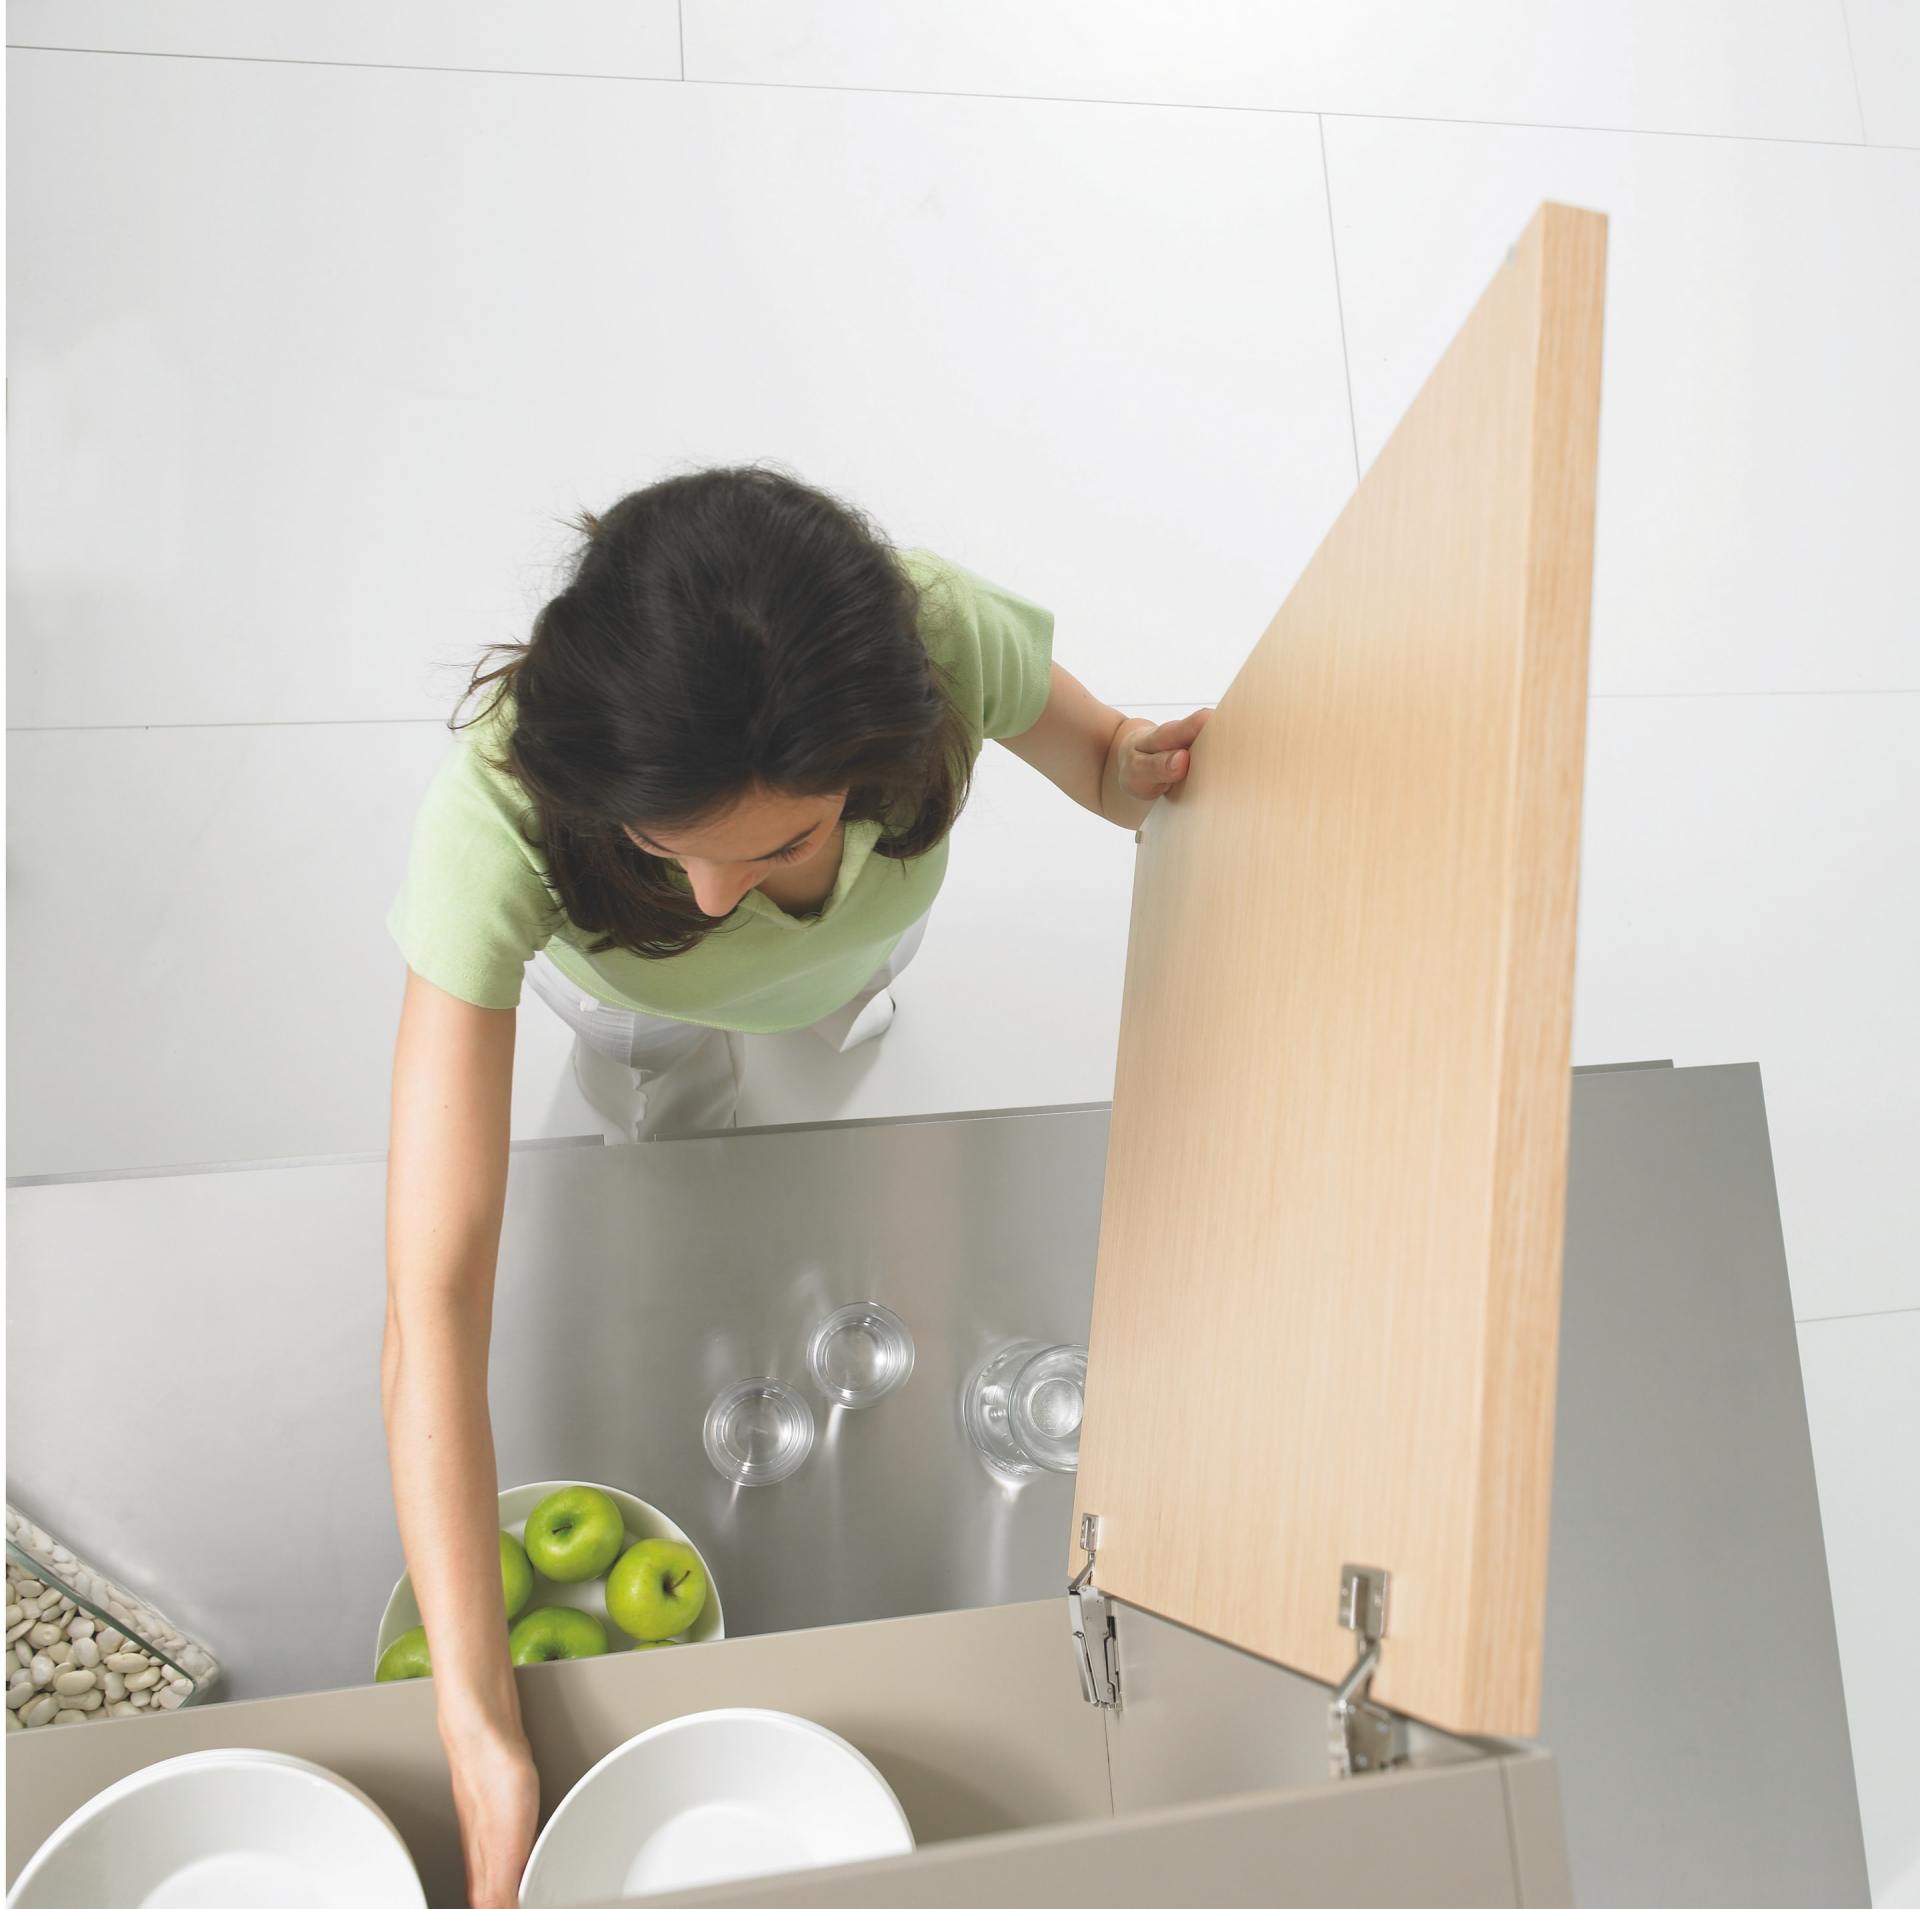
2. Empty the cabinets
When learning how to clean your kitchen cabinets, people often sigh at this stage. After all, emptying all kitchen cabinets seems like a big chore. However, you must do this during your deep cleaning to ensure that your cabinets are properly cleaned!
Empty all the contents of your cabinets and remove all discolored or damaged shelf lining. You should replace it with a new lining after you are done cleaning your cabinets. During this stage, vacuum the cabinets if they have a lot of residues. Don’t just begin wiping them down without doing so!
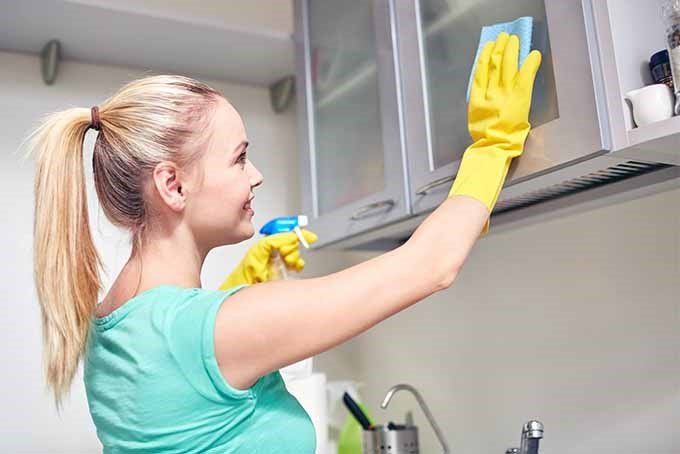
3. Start cleaning from the top
Generally, the top cabinets and shelves seem too much of a hassle to clean – especially if you can’t comfortably reach the top. But, whenever you search for expert advice about how to clean your kitchen cabinets, everyone (including us) will tell you to begin cleaning from the top down.
This is because, during the beginning of your cleaning task, you are the most energized. If you stall the task till the end, you are likely to skip it, concluding that no one sees or uses the top cabinets that much anyway.
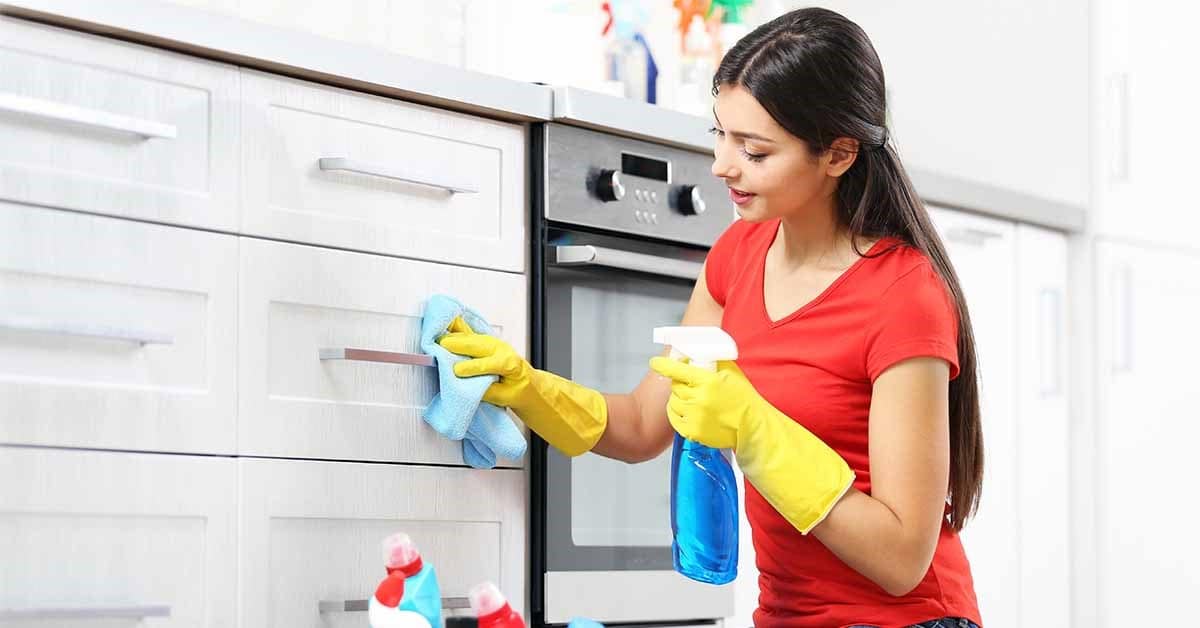
Use a cleaning cloth and spray your cleaning solution on them. Then wipe the cabinets top down. Try to reach all the edges and sides of each cabinet.
4. Don’t forget to wipe off the cleaner
Do you think you have aced the process of cleaning kitchen cabinets? Have you tried cleaning it off with a cleaning solution? No. After cleaning the cabinets with the solution, you must then wipe the solution off.
Take another clean cloth and rinse it thoroughly. Clean the entire cabinet with it again. Then, use a new cloth to dry off any water or solution that may remain. That’s a lot of cleaning, right? Well, there is no shortcut to this step. This is because any solution or water left on the cabinet can damage and discolor it.
5. Focus on the glass and mirrors
Once you are done cleaning the wooden part of doors and insides of each cabinet, now is the time to divert your attention to any mirror features or glass present on your cabinet. If your cabinet doesn’t have any, please skip this step.
If you do, then get your hands on a commercial glass cleaner. Take a paper towel or use a lint-free cloth and spray the cleaner on it. Always avoid spraying anything directly on the glass. This is because it may end up seeping into the wooden part of the cabinet, thereby causing discoloration.
6. Don’t forget the knobs and handles
Use a solution of vinegar and warm water in a ratio of 50:50. Dip a toothbrush into the solution and scrub the knobs and handles of the cabinet. Using a thin toothbrush will allow you to reach the crevices even if your door handle features ornate trim.
This method will also work for cleaning any metal hardware installed in your wooden cabinets.
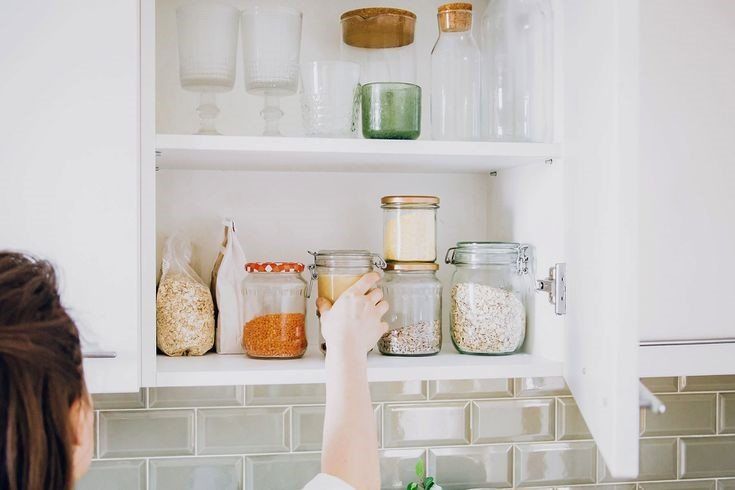
7. The contents need cleaning too
It isn’t just the kitchen cabinet that you have to clean. You must also clean the things that stay within those cabinets.
Take a cloth soaked in a solution of warm water and dish soap and wipe down all the dusty cans. Check the expiry date of each food item and throw out anything that has gone bad. Refill your cabinets with old and some new items, and voila, you are done!
How to clean thick grease buildup?
If you are looking for a guide on cleaning greasy wooden kitchen cabinets, the process mentioned above may not suffice for you. This is because a mild cleaning solution is no match for thick grease buildups.
If your cabinet features a gross yellowish or orange sticky substance in the interior and exterior parts of the cabinet, you can do the following:
- Use an orange oil cleaner and allow the solution to penetrate the grease for up to four minutes before scrubbing it off.
- Make a paste out of water and baking soda and use a soft-bristled brush to gently scrub off the grease.
- Use a magic eraser if the finish of your cabinets allows you to do so. However, since certain finishes tend to get discolored, always test it on a smaller portion before applying it.
- Soak a washcloth in undiluted vinegar and wipe it on the greasy sections. Let it sit for 15 minutes, and then use a water-soaked cloth to wipe the buildup down.
Treatment for specific stains
Apart from grease, various other stubborn stains might become an obstacle to your cleaning solution. Here is how to tackle and remove them.
- Fingerprints: Remove the oily fingerprint mark by dampening a cloth in a solution of vinegar and water, applying it to each fingerprint, and then buff cleaning it with a cloth.
- Food stains: First of all, always wipe off food stains as soon as you find them. Apply a paste of water and baking soda to do so.
- Water stains: If your house gets hard water, the chances are that there will be water stains when you try cleaning your cabinets. The full-proof way to prevent such spots is to switch to distilled water for cleaning cabinets.
Things to avoid when cleaning your kitchen cabinets
Now that you know the clear-cut way of cleaning your cabinets, you should also know some things that you should always avoid during the task. Here is the ultimate list of don’ts you must follow.
1. Don’t soak the cabinets
Never spray any mixture directly onto the surface. Even when spraying it onto a cloth, only do so until the cloth is damp. Don’t drench it in the solution because this can damage the finish or paint of your cabinet.
2. Don’t skip deep cleaning
You need to go well beyond merely cleaning the outer surfaces of your cabinets. Deep clean it all, as mentioned in our guide, at least twice every year. Empty all cabinets, wipe down each shelve and clean the inside of drawers. Don’t leave any spot untreated.
3. Don’t rely on air drying
It is understandable if you get tired after cleaning and wish to skip the step where you use a dry cloth to wipe off and dry your cabinets. But, this is a step you should never miss! This is because waiting for cabinets to air dry can end up causing the formation of bubbles in the finish or discoloration of the paint. Always use a tint-free cloth for drying your cabinets.
Get cleaning!
Now that you are well aware of cleaning your kitchen cabinets, it is time for you to get going! Make a point of cleaning the outer surfaces every other week and deep cleaning each cabinet every few months. This will ensure that you don’t have to spend too much on fixing and replacing damaged cabinets.
Remember, the better care you take of your kitchen and all other furniture, the more lifespan they will have. Not to mention dusty and greasy cabinets don’t leave a good impression on people who walk into your kitchen.
So, go ahead and clean your kitchen cabinets along with the sink and counters. It is about time we give
cabinets the attention they deserve. After all, they are the ones carrying all the ingredients and cutlery for your meal!
Maintaining your kitchen and cleaning it throughly once a month will help your kitchen last for years to come..
- Imran Habib
Call us for more great tips on maintaining your kitchen cabinets. You can get more information by calling 416-925-2115.
Share
You might also like
How To Clean Your Kitchen Cabinets? Sweet Refinishing


FREE ONLINE ESTIMATE!
Kindly submit some pictures of your kitchen or measurements for a faster quote.